

If you’re seeing an error on your WordPress site that states ‘The Link You Followed Has Expired’ when trying to upload a theme or plugin then don’t worry we’re here to tell you how to solve it!
The main reason this occurs is that you’re uploading a file to your website via the admin area and the hosting provider has restricted the size of your max upload.
The PHP Settings
Within your websites PHP settings the max file upload setting isn’t large enough for the theme or plugin e.g. your max size is 128MB and the file you’re uploading is 200MB.
These PHP settings are often initially set by your website hosting provider and can range from 2MB up to 1GB depending on the provider. They’re generally set to stop users from uploading particularly large media files to the WordPress Media Library. Or in some cases extremely large plugins and themes.
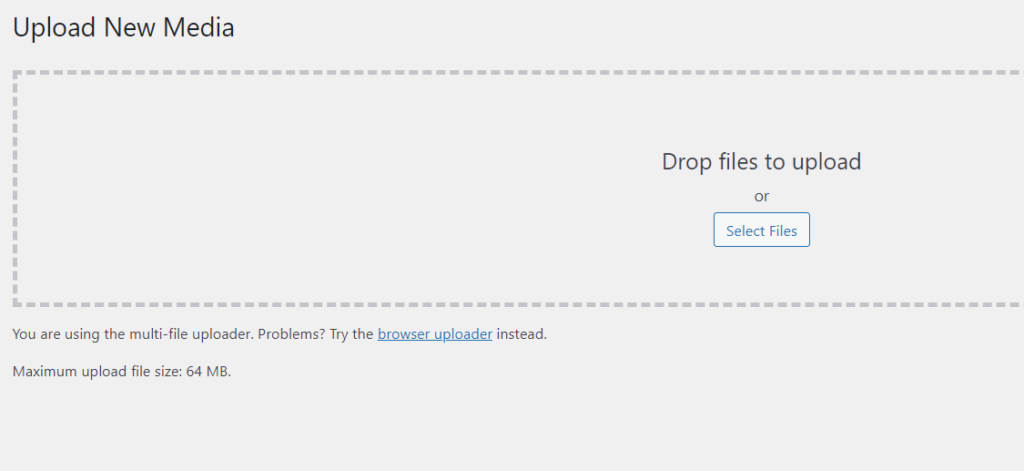
To see the file size limit currently set on your site go to Media > Add New and you will get a page as shown here, with your max upload size:
Fixing the Error:
There are a few different methods for fixing this error each of which will depend on your website hosting setup and your confidence with editing WordPress files.
1. Change the PHP Settings Within CPanel
One of the most commonly used Web Hosting Panels is CPanel if this is the platform that your hosting provider uses then the PHP settings are usually within the Software section and are called ‘Select PHP Version’.
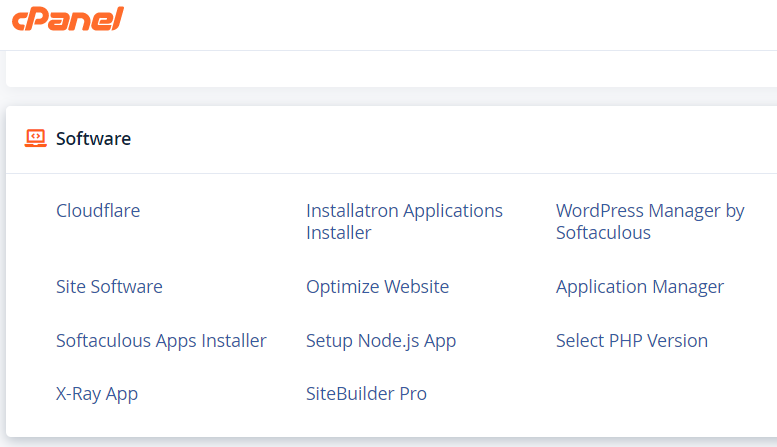
Within here you will want to select PHP options. In this section you will find the upload_max_filesize and max_execution_time.
These are the two settings that you need to set. For Max Execution time this will usually be a relatively small number such as 30 which represents the number of seconds that a script is able to run for. If you’re uploading a large theme or plugin set this to something like 300.
For the upload_max_filesize there will be a dropdown with options for the size that you can set this to. These sizes double in increments so you’ll want to select a size larger than the file that you’re uploading.
It’s worth noting that it’s generally always useful setting these back to what they were before uploading the theme or plugin once you’ve added it to the site.
2. Change the PHP Settings Within Plesk
Another very popular platform that hosting providers use is Plesk once logging into your hosting you should see a section called PHP settings.
This will usually have the same options as mentioned for Cpanel so: upload_max_filesize and max_execution_time. The layout / design of the panel will depend on your hosting provider but they will either have dropdown selectors or the ability to update these values by typing.
Again it’s usually good practice to make a note of what these were before changing them and set them back to that once you’ve uploaded the relevant theme or plugin.
3. Asking Your Hosting Provider
In some cases your website hosting provider may not make the PHP settings available within your control panel to edit, this will depend from platform to platform and in this instance you can either follow the steps mentioned below to manually edit files, or ask your hosting provider to update the details for the site.
4. Updating The .htaccess File
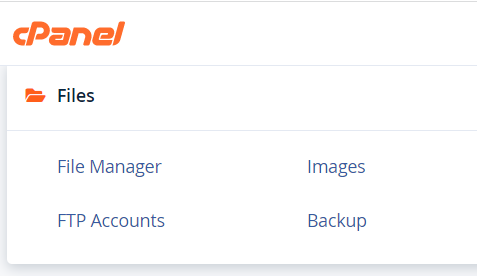
To do this you’ll want to log into your hosting whether it’s CPanel, Plesk or any other control panel and look for the file manager section. Once clicking into the file manager you’ll want to go into public_html. Within this section should be your .htaccess file some hosting providers will have a setting enabled that hides dot files. If you click the settings option within this page you should see something similar to ‘Show Hidden’ files.
Once locating your .htaccess file click to edit it. Once opened scroll down to the section that looks similar to the PHP setup that we mentioned before so:
Upload_max_file_size and max_execution_time both of these will have values after them, make sure to note the values before changing them for example 8M. To increase this you would simply change it to say 128M.
In some cases your .htaccess file may have a custom configuration with additional values that have been added by your hosting provider. In these instances it’s always best to check with them about editing the .htaccess file.
5. Using an FTP Connection / Manually Increasing File Limits Using php.ini File
In some circumstances simply connecting to your site to use your FTP credentials instead of uploading files directly to your WordPress back-end will bypass pre-configured server limits for max-uploads allowing you to add much larger files directly.
If you’re not sure of which platform to use to do this take a look at your hosting providers documentation as it can different from host to host and check out our Good FTP Tools Guide.
Another option when using FTP directly is to tweak your php.ini file directly. This file is responsible for identifying the configuration of your PHP when using WordPress.
Once logged into your website’s root folder look for a file called php.ini within this file you will want to add or tweak the content to:
upload_max_filesize = 256M
post_max_size = 256M
max_execution_time = 300
With the above you may want to change the figures to match roughly what you need in terms of upload capacity.
If the file doesn’t exist within your root folder it’s likely because you are on shared hosting. In this instance simply create a file named php.ini with a text editor, add the above code and upload it to your root folder.
You can achieve the tasks identified above with FTP using a file manager however it’s always best to use FTP where possible particularly when editing items that involve customisation via text files etc.
Uploading Your Theme / Plugin:
Once you’ve set the PHP values to a higher level if they are larger than your theme or plugin you should then be able to upload the item fully.
To learn how to update Plugins manually take a look at our article here.
We hope this provides you with an idea of fixing the WordPress error ‘The Link You Follow Expired’ We’d appreciate a share or any comments if you found this useful, thanks!